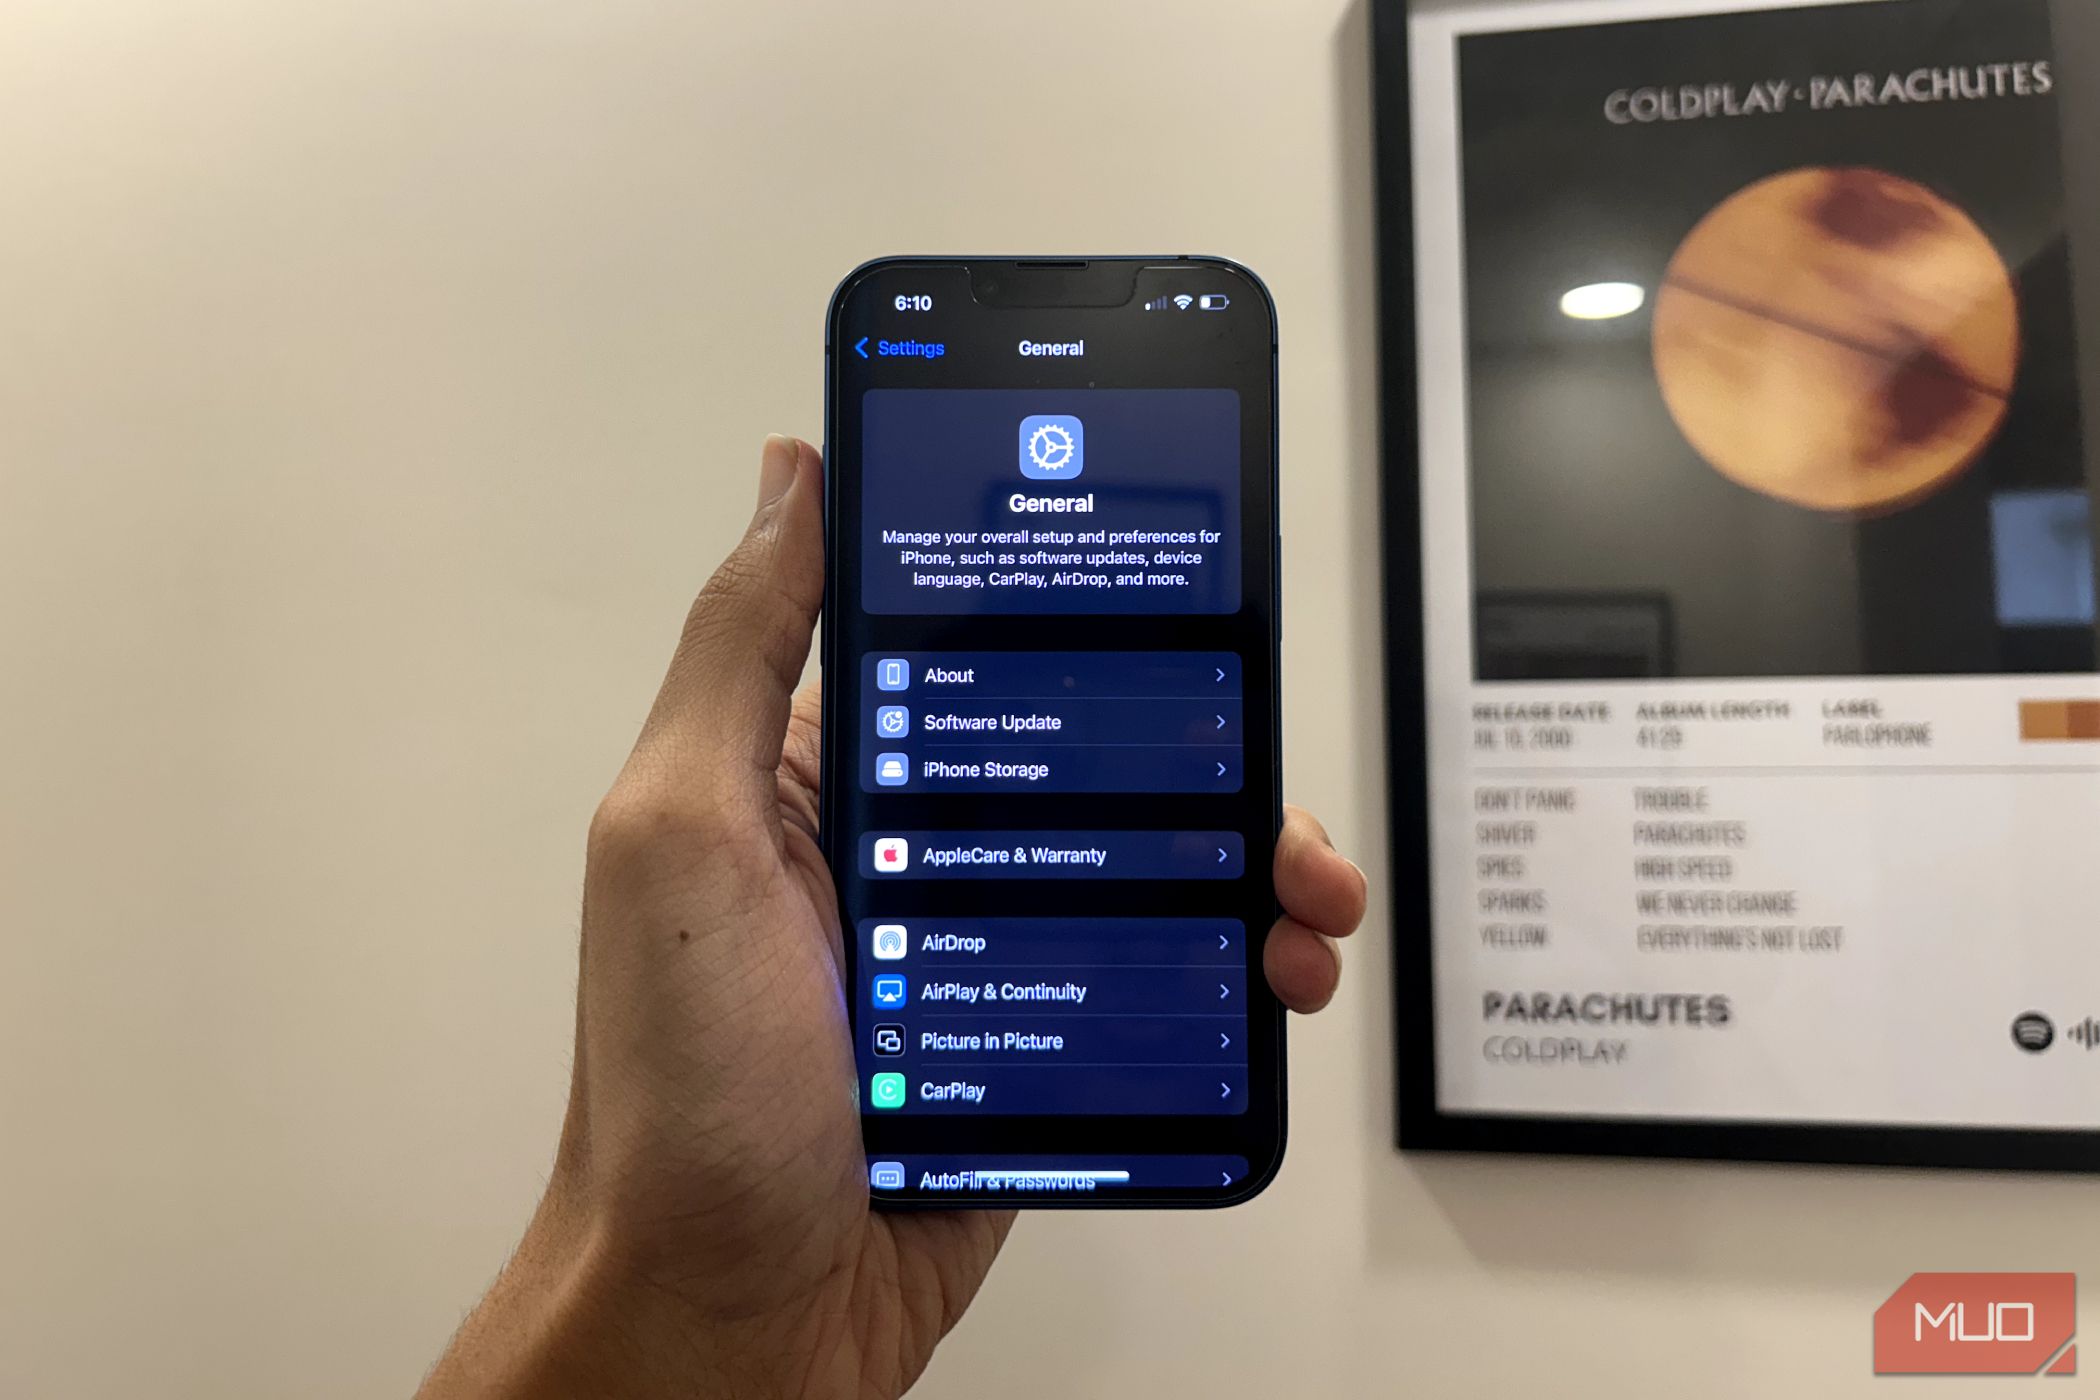

Apple does a fantastic job with the iPhone’s default settings, but they’re not one-size-fits-all. From customizing Lock Screen shortcuts and the Control Center to changing default apps, I made several tweaks to truly make my new iPhone my own.
1
Silence the Keyboard Clicks
While I enjoy the tactile feedback of the keyboard on my iPhone, the constant sound of each tap is distracting—especially in quiet settings like meetings or at night. Plus, the clicking noise can be bothersome to those around me.
So one of the first things I did after setting up my new iPhone was silence those keyboard clicks by heading to Settings > Sounds & Haptics. It’s a simple adjustment that makes a lot of difference for maintaining peace and quiet. I also disabled other potentially annoying iPhone system sounds, like the lock sound and camera shutter, for an even quieter experience.

2
Change Lock Screen Shortcuts
The default Lock Screen shortcuts on the iPhone—Flashlight and Camera—are undoubtedly useful, but they’re not what I use most. So I swapped them with ChatGPT Voice and the QR Code Scanner, both of which I use often. I like how it lets me jump straight into these features without the hassle of navigating through apps.
With iOS 18, changing the Lock Screen shortcuts is super simple and doesn’t require any complicated workarounds like before. All I had to do was tap and hold on the Lock Screen, then select Customize. From there, I could easily swap out the icons for the ones I actually use.


3
Disable iPhone Analytics and Personalized Ads
Like most tech companies, Apple collects diagnostic and usage data to improve its services. However, I’m not a fan of sharing that much information. One of the things I did on my new phone was disable Analytics and Improvements by heading to Settings > Privacy & Security. This effectively prevents Apple from collecting daily diagnostics and usage data.
Additionally, I disabled Personalized Ads, which prevents my iPhone from showing ads tailored to my activity across apps and websites. These simple changes keep the iPhone from collecting my data and give me better peace of mind.


4
Increase the Auto-Lock Timer
By default, the auto-lock timer on iPhones is set to 30 seconds, which is way too quick for my liking. I find it annoying when my phone locks so soon after I set it down or stop using it for a moment. For me, a longer Auto-Lock timer makes more sense.
I increased the Auto-Lock timer to one minute by going to Settings > Display & Brightness > Auto-Lock. This gives me enough time to complete a task without my phone locking prematurely. It strikes the perfect balance—long enough to be convenient but not so long that it risks unnecessary battery drain (or unauthorized access) if I forget to lock it manually.


5
Customize the Control Center
The Control Center on iPhone provides quick access to essential settings and features. To make it even more useful, I customized it by adding my favorite shortcuts like the Apple TV Remote, Shazam, and Notes. This way, I can access the features I need with just a swipe.
I also removed or moved shortcuts I don’t use often. For instance, since I rarely need the Camera or Timer shortcut in the Control Center, I deleted them. For other tools, I shifted them to a different page to declutter and make the layout more intuitive.


To enhance security, I also disabled Control Center access on the Lock Screen by heading to Settings > Face ID & Passcode > Allow Access When Locked and turned off the Control Center toggle. Now, I don’t have to worry about someone accessing those tools without unlocking my phone.
6
Turn Off Backup Over Cellular
Though my iPhone supports 5G, I have a limited data plan, so I’m always cautious about exhausting it while on the go. To prevent unnecessary usage of my data plan, I turned off the option to run backups over cellular data in iCloud settings.
I headed to Settings > [My Name] > iCloud > iCloud Backup and disabled the Back Up Over Cellular toggle. Now, my iPhone only backs up iCloud data over Wi-Fi. This helps me conserve data and avoid surprises on my bill at the end of the month.


7
Manage Background App Refresh
While keeping Background App Refresh enabled on my iPhone is essential for syncing data and receiving notifications without delays, I don’t need it activated for every app. To conserve battery and reduce data usage, I’ve disabled it for games, news readers, and other apps I don’t use often.
This was simple. All I had to do was head to Settings > General > Background App Refresh and use the toggles to disable Background App Refresh for unnecessary apps.


8
Change Default Apps
Apple’s default apps are fine, but I prefer using alternatives that better suit my needs. For example, I switched from Safari to Chrome as my browser because it syncs seamlessly with my Windows 11 desktop and other non-Apple devices. This allows me to pick up right where I left off, no matter what device I’m using.
Another change I made was setting Gmail as my default email app. Additionally, I prefer the Chrome password manager over Apple’s Passwords app for storing my passwords, so I set that as my default password manager.
Thankfully, iOS makes these adjustments simple. I simply went to Settings > Apps > Default Apps, and made all these changes within seconds.


9
Enable Back Tap and AssistiveTouch Shortcuts
iOS offers some handy accessibility features that aren’t enabled by default, like Back Tap functionality. I enabled it on my iPhone and set the Double Tap to lock the screen and the Triple Tap to capture a screenshot. It’s incredibly convenient and makes these common tasks much quicker.
I’ve also turned on AssistiveTouch. This feature adds a floating icon on my iPhone screen, providing easy access to several functions I use regularly. Whether it’s quickly activating Siri or restarting my iPhone, it streamlines tasks and saves time. Plus, it’s customizable, so I can adjust it based on my usage.


While Apple’s out-of-the-box configuration works for many, I’ve found that tweaking these settings to better suit my needs really enhances the iPhone experience. Making these changes early on ensures my iPhone works exactly how I want it to, right from the start. Of course, everyone’s preferences are different, so feel free to explore these options and adjust what works best for you.