
Key Takeaways
- Raspberry Pi Imager makes it easy to install the Raspberry Pi OS on a microSD card for your Raspberry Pi computer.
- The Imager tool allows you to choose the specific Raspberry Pi model and operating system version you want to install.
- You can customize the OS settings, such as Wi-Fi and SSH, before writing the OS to the microSD card.
Before using your Raspberry Pi, you’ll need to install an operating system. Tailored for the SBC, Raspberry Pi OS is the most popular option. The official Raspberry Pi Imager tool makes it easy to install the OS and offers advanced settings.
Step 1: Download and Install Raspberry Pi Imager
Available for macOS, Windows, and Ubuntu Linux systems, the official Raspberry Pi Imager tool can be downloaded from the Raspberry Pi site. Install the application on your computer in the usual fashion for your operating system—for instance, on a Mac, double-click the downloaded DMG file and then drag the Imager icon into the Applications folder.
Step 2: Select Raspberry Pi Model
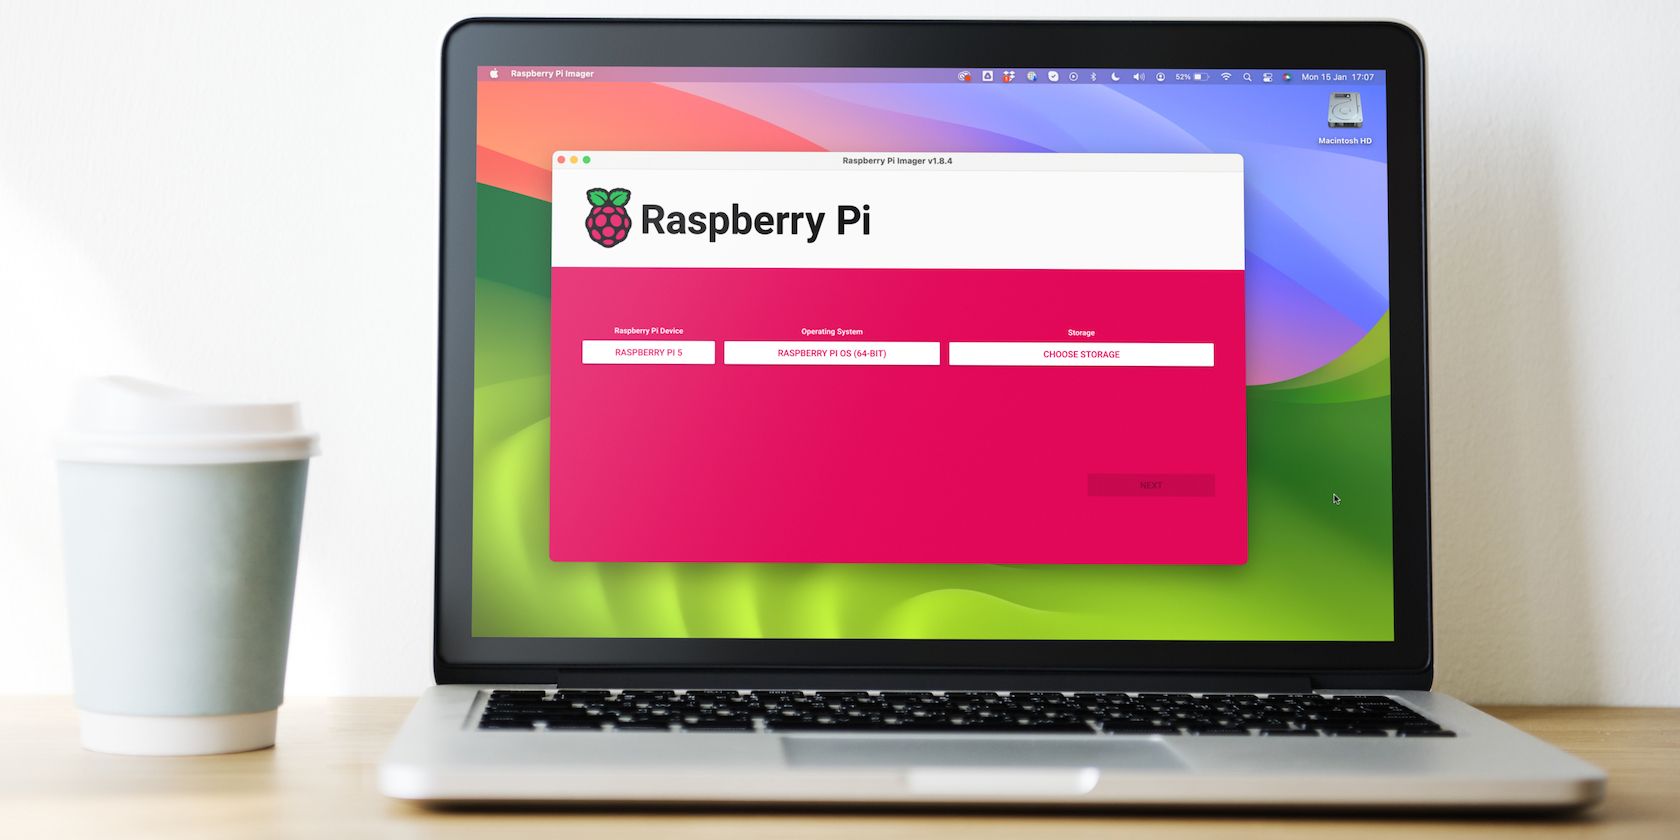
The latest version of Raspberry Pi Imager offers a new Choose Device option. Click on this, and you will be presented with a list of Raspberry Pi models; select the model onto which you want to install the operating system.
This has the effect of filtering the versions of Raspberry Pi OS (and other options) available in the menu when you click Choose OS from the main screen. For instance, if you choose Raspberry Pi 5, you will be offered 64-bit and 32-bit variants of the latest version of Raspberry Pi OS based on Debian Bookworm. Whereas if you select Raspberry Pi 3 as the model, you’ll be offered the “Legacy” 32-bit version of Raspberry Pi OS based on Debian Bullseye.
While this filtering system is useful for ensuring you choose an optimal (and compatible) version of Raspberry Pi OS for your Raspberry Pi model, you may prefer not to use it and revert to the old system that shows all available operating systems. In this case, select the No filtering option in the Choose Device menu.
Step 3: Select the Raspberry Pi Operating System
Click on the Choose OS option from Imager’s main menu and, at the top of the list, you will be shown suitable versions of Raspberry Pi OS for the model you selected.

In addition, if you click on the Raspberry OS (Other) option, you will be shown further variants such as Lite (lacking a GUI) and Full (with all recommended software pre-installed). You may also be offered a choice of 32-bit or 64-bit versions if using a Raspberry Pi model with a 64-bit SoC (system-on-chip). Here are the relevant specs for all models:
|
Model |
SoC |
ARM CPU |
Debian ARM Port (Max) |
Architecture |
|---|---|---|---|---|
|
Raspberry Pi 5 |
BCM2712 |
Cortex-A76 |
arm64 |
64-bit |
|
Raspberry Pi 4 / 400 / CM4 |
BCM2711 |
Cortex-A72 |
arm64 |
64-bit |
|
Raspberry Pi 3 / CM3 |
BCM2710 |
Cortex-A53 |
arm64 |
64-bit |
|
Raspberry Pi Zero 2 |
BCM2710 |
Cortex-A53 |
arm64 |
64-bit |
|
Raspberry Pi Zero |
BCM2835 |
ARM1176 |
arm6hf |
32-bit |
|
Raspberry Pi 2 |
BCM2836 |
Cortex-A7 |
armhf |
32-bit |
|
Raspberry Pi 1 |
BCM2835 |
ARM1176 |
arm6hf |
32-bit |
64-bit or 32-bit Raspberry Pi OS?
Note that there are pros and cons to the 64-bit and 32-bit versions of Raspberry Pi OS. The 64-bit version will usually offer improved performance and, unlike a 32-bit OS, is able to address more than 4GB of RAM—crucial if you have a Raspberry Pi 4 or 5 model with 8GB RAM. It may also be required to run any applications requiring the arm64 port of Debian Linux.
On the other hand, the 32-bit version of Raspberry Pi OS will typically have a lower power drain than the 64-bit one; this may be important for a portable project using a Raspberry Pi battery pack.
Other Raspberry Pi Operating Systems
In addition to Raspberry Pi OS, you can use the Imager tool to install a range of other operating systems for Raspberry Pi. Available in the Choose OS menu, these are filtered into categories such as Media player OS (including LibreELEC to set up a home theater system) and Emulation and game OS to set up a retro gaming system on a Raspberry Pi 5 or other model. Note that if you want to see the full range of operating systems, choose No filtering from the Choose Device menu.
If the operating system you want isn’t available in Imager, you can still install it by downloading its OS image file separately and then selecting the Use custom option at the bottom of the Choose OS menu.
Step 4: Choose Storage
Typically, you will install Raspberry Pi OS (or other operating system) onto a microSD card, although it is possible to boot a Raspberry Pi from an SSD. Attach the card to your computer, using a USB card adapter if needed.
Once you have an OS selected and the microSD card attached, click on Choose Storage from Imager’s main menu. Your card should appear, typically named “SD Card Reader Media” or something similar, with the storage capacity shown. Select it.

Step 5: Use Imager’s Advanced Options
When you click on Next from Imager’s main menu, you will be asked whether you want to use OS customization. Click on the Edit Settings option in the prompt if you want to set up the Wi-Fi connection and/or SSH to enable remote connection to the Raspberry Pi. This will save you needing to do it later when you boot up Raspberry Pi OS on your Raspberry Pi. This is especially useful if you plan to use your Raspberry Pi in a headless setup without a monitor or keyboard attached.
Upon clicking Edit Settings, you may be prompted to pre-fill the details and password for your Wi-Fi connection, which saves entering them manually. Either way, you will be taken to Imager’s OS Customisation menu.

In the General tab, you can set the Raspberry Pi‘s hostname if you want. You should definitely set a username and password to make it secure. You can also fill in your Wi-Fi network details (if you opted not to pre-fill them) and choose locale settings.
In the Services tab, you can opt to Enable SSH (Secure Shell, for remote access to the Raspberry Pi), either using a password or a locally stored public key—which you can generate by clicking Run SSH-Keygen.

Finally, in the Options tab, you can toggle options for the Imager tool itself, such as automatically ejecting the microSD card once it has written the OS. The “Enable telemetry” option lets Raspberry Pi collect data for its OS installation statistics page, but you can opt out if you want, by unticking the option.
Once you have selected all the OS customization settings you want, click Save and then Yes to apply them. Note that the advanced settings will be stored for future installations using Imager.
Step 6: Write Raspberry Pi OS to the Card
You are now ready to actually write Raspberry Pi OS to your microSD card. From the prompt warning you that all data on the card will be erased, select Yes to continue. You may then be prompted to enter your current computer’s password to proceed. Imager will then start writing the OS to the microSD card, indicated by a progress bar.

This may take several minutes, after which Imager will proceed to verify the installation. Once done, Imager will tell you whether it has been successful. You can eject the microSD card and remove it from the computer.
Step 7: Boot Up Your Raspberry Pi
Insert the microSD card into the slot on your Raspberry Pi computer, then turn on the power supply. Raspberry Pi OS will start booting up and will soon (the time it takes depends on the speed of the Raspberry Pi model) show the desktop GUI—or the Linux command line if you opted for a Lite version of the OS.
With Raspberry Pi OS installed on your Raspberry Pi, you can use it to run numerous ARM-compatible Linux applications and start creating a wide range of software and electronics projects.